
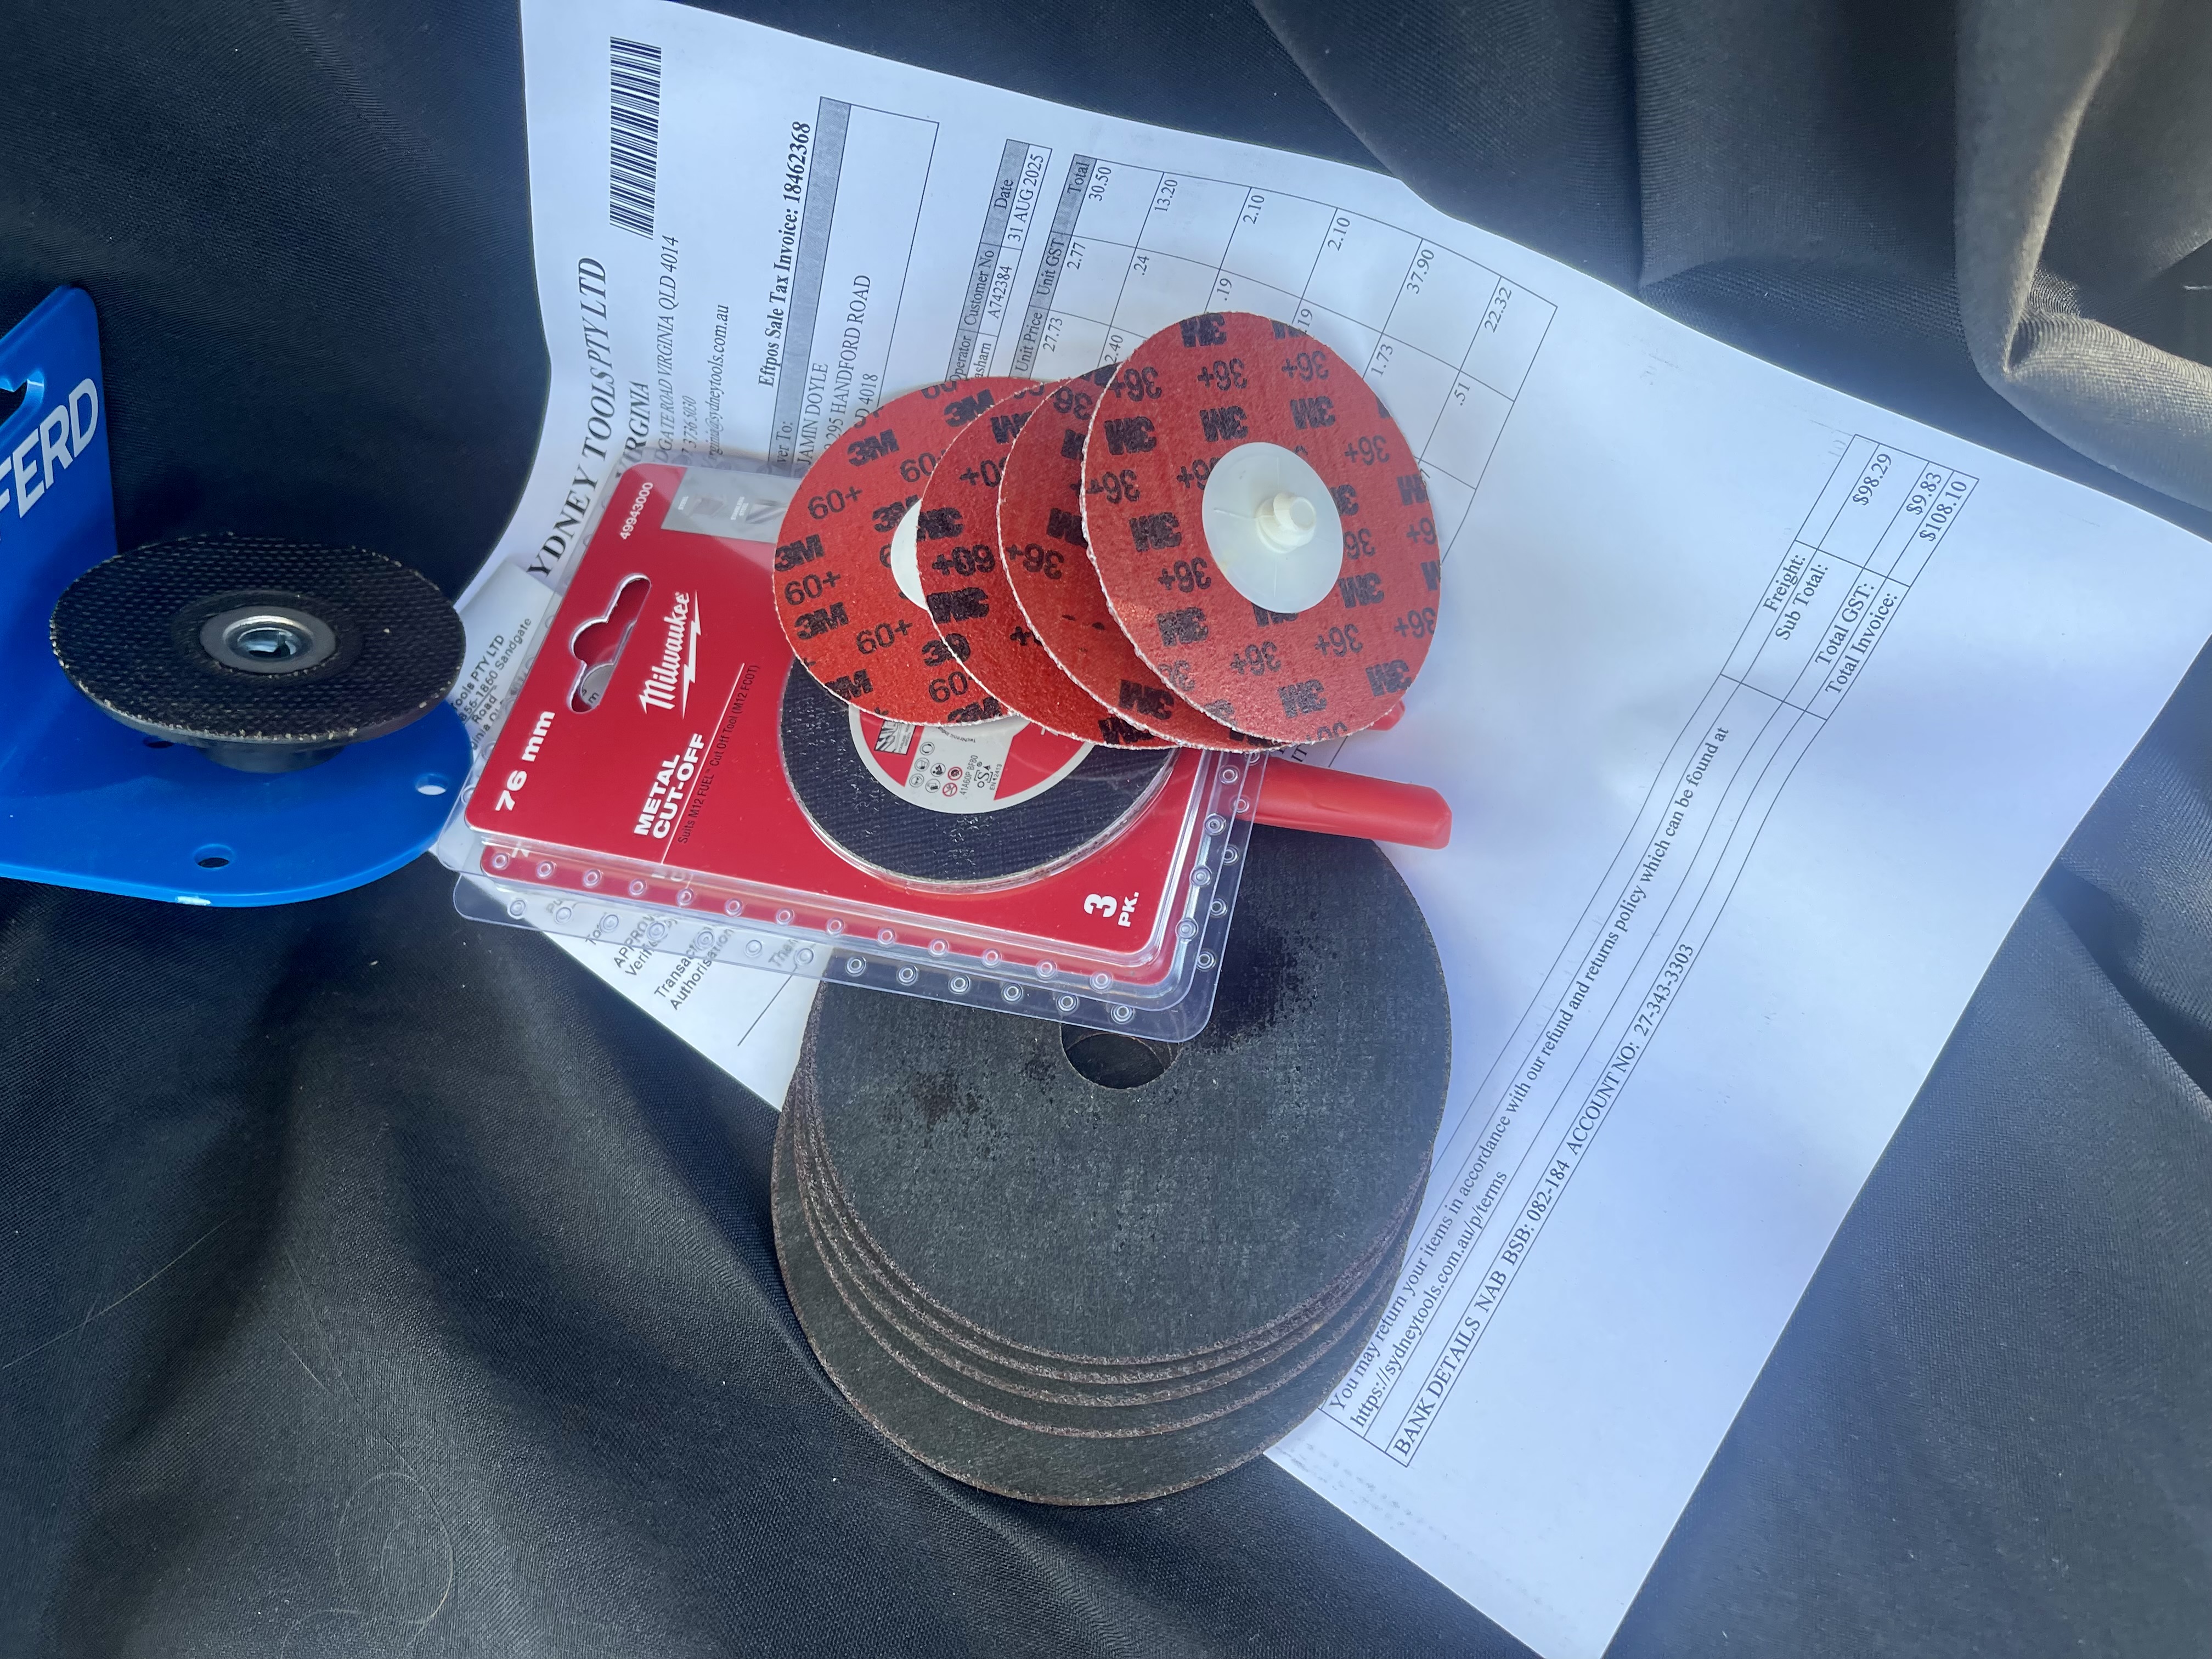
 Bought a bunch of supplies
This is the one I've been nervous about for a while, cutting the roof off DZDaisy. There's no undo button on an angle grinder. Once you cut, you're committed. But a pop-top has always been part of the plan, and the Sopru pop-top I picked up has been sitting in the garage waiting for its moment. Today was the day.
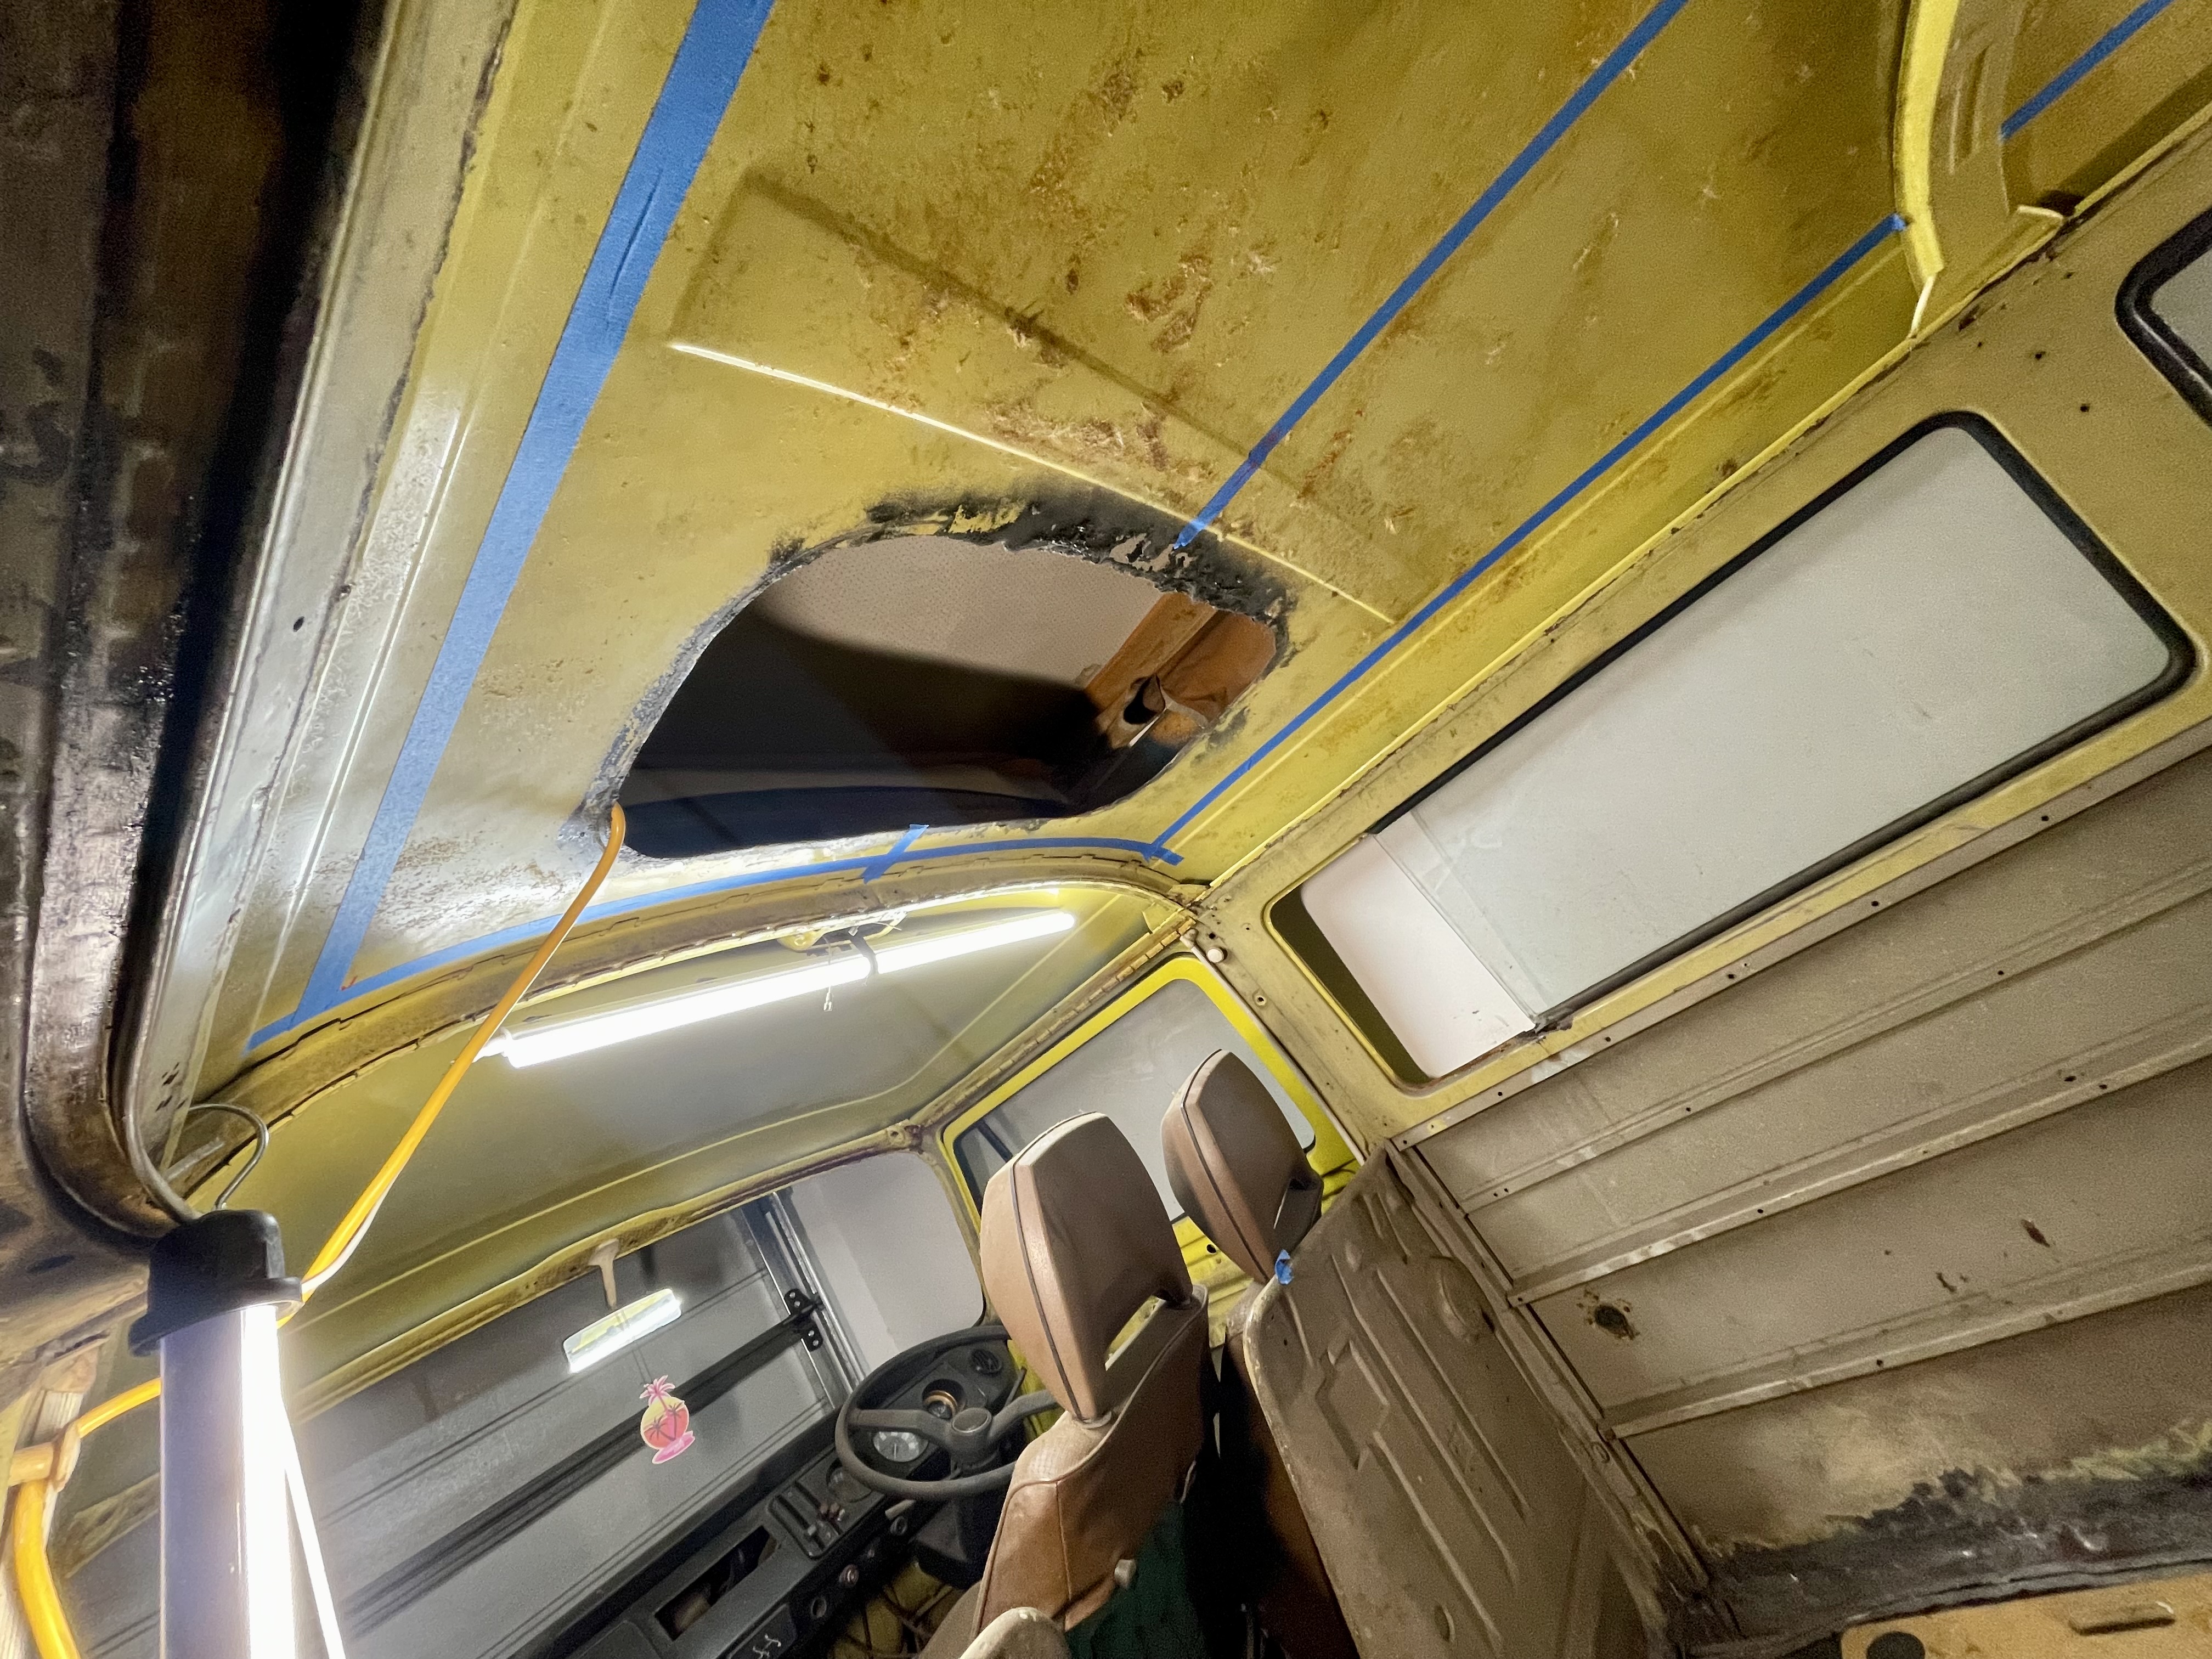
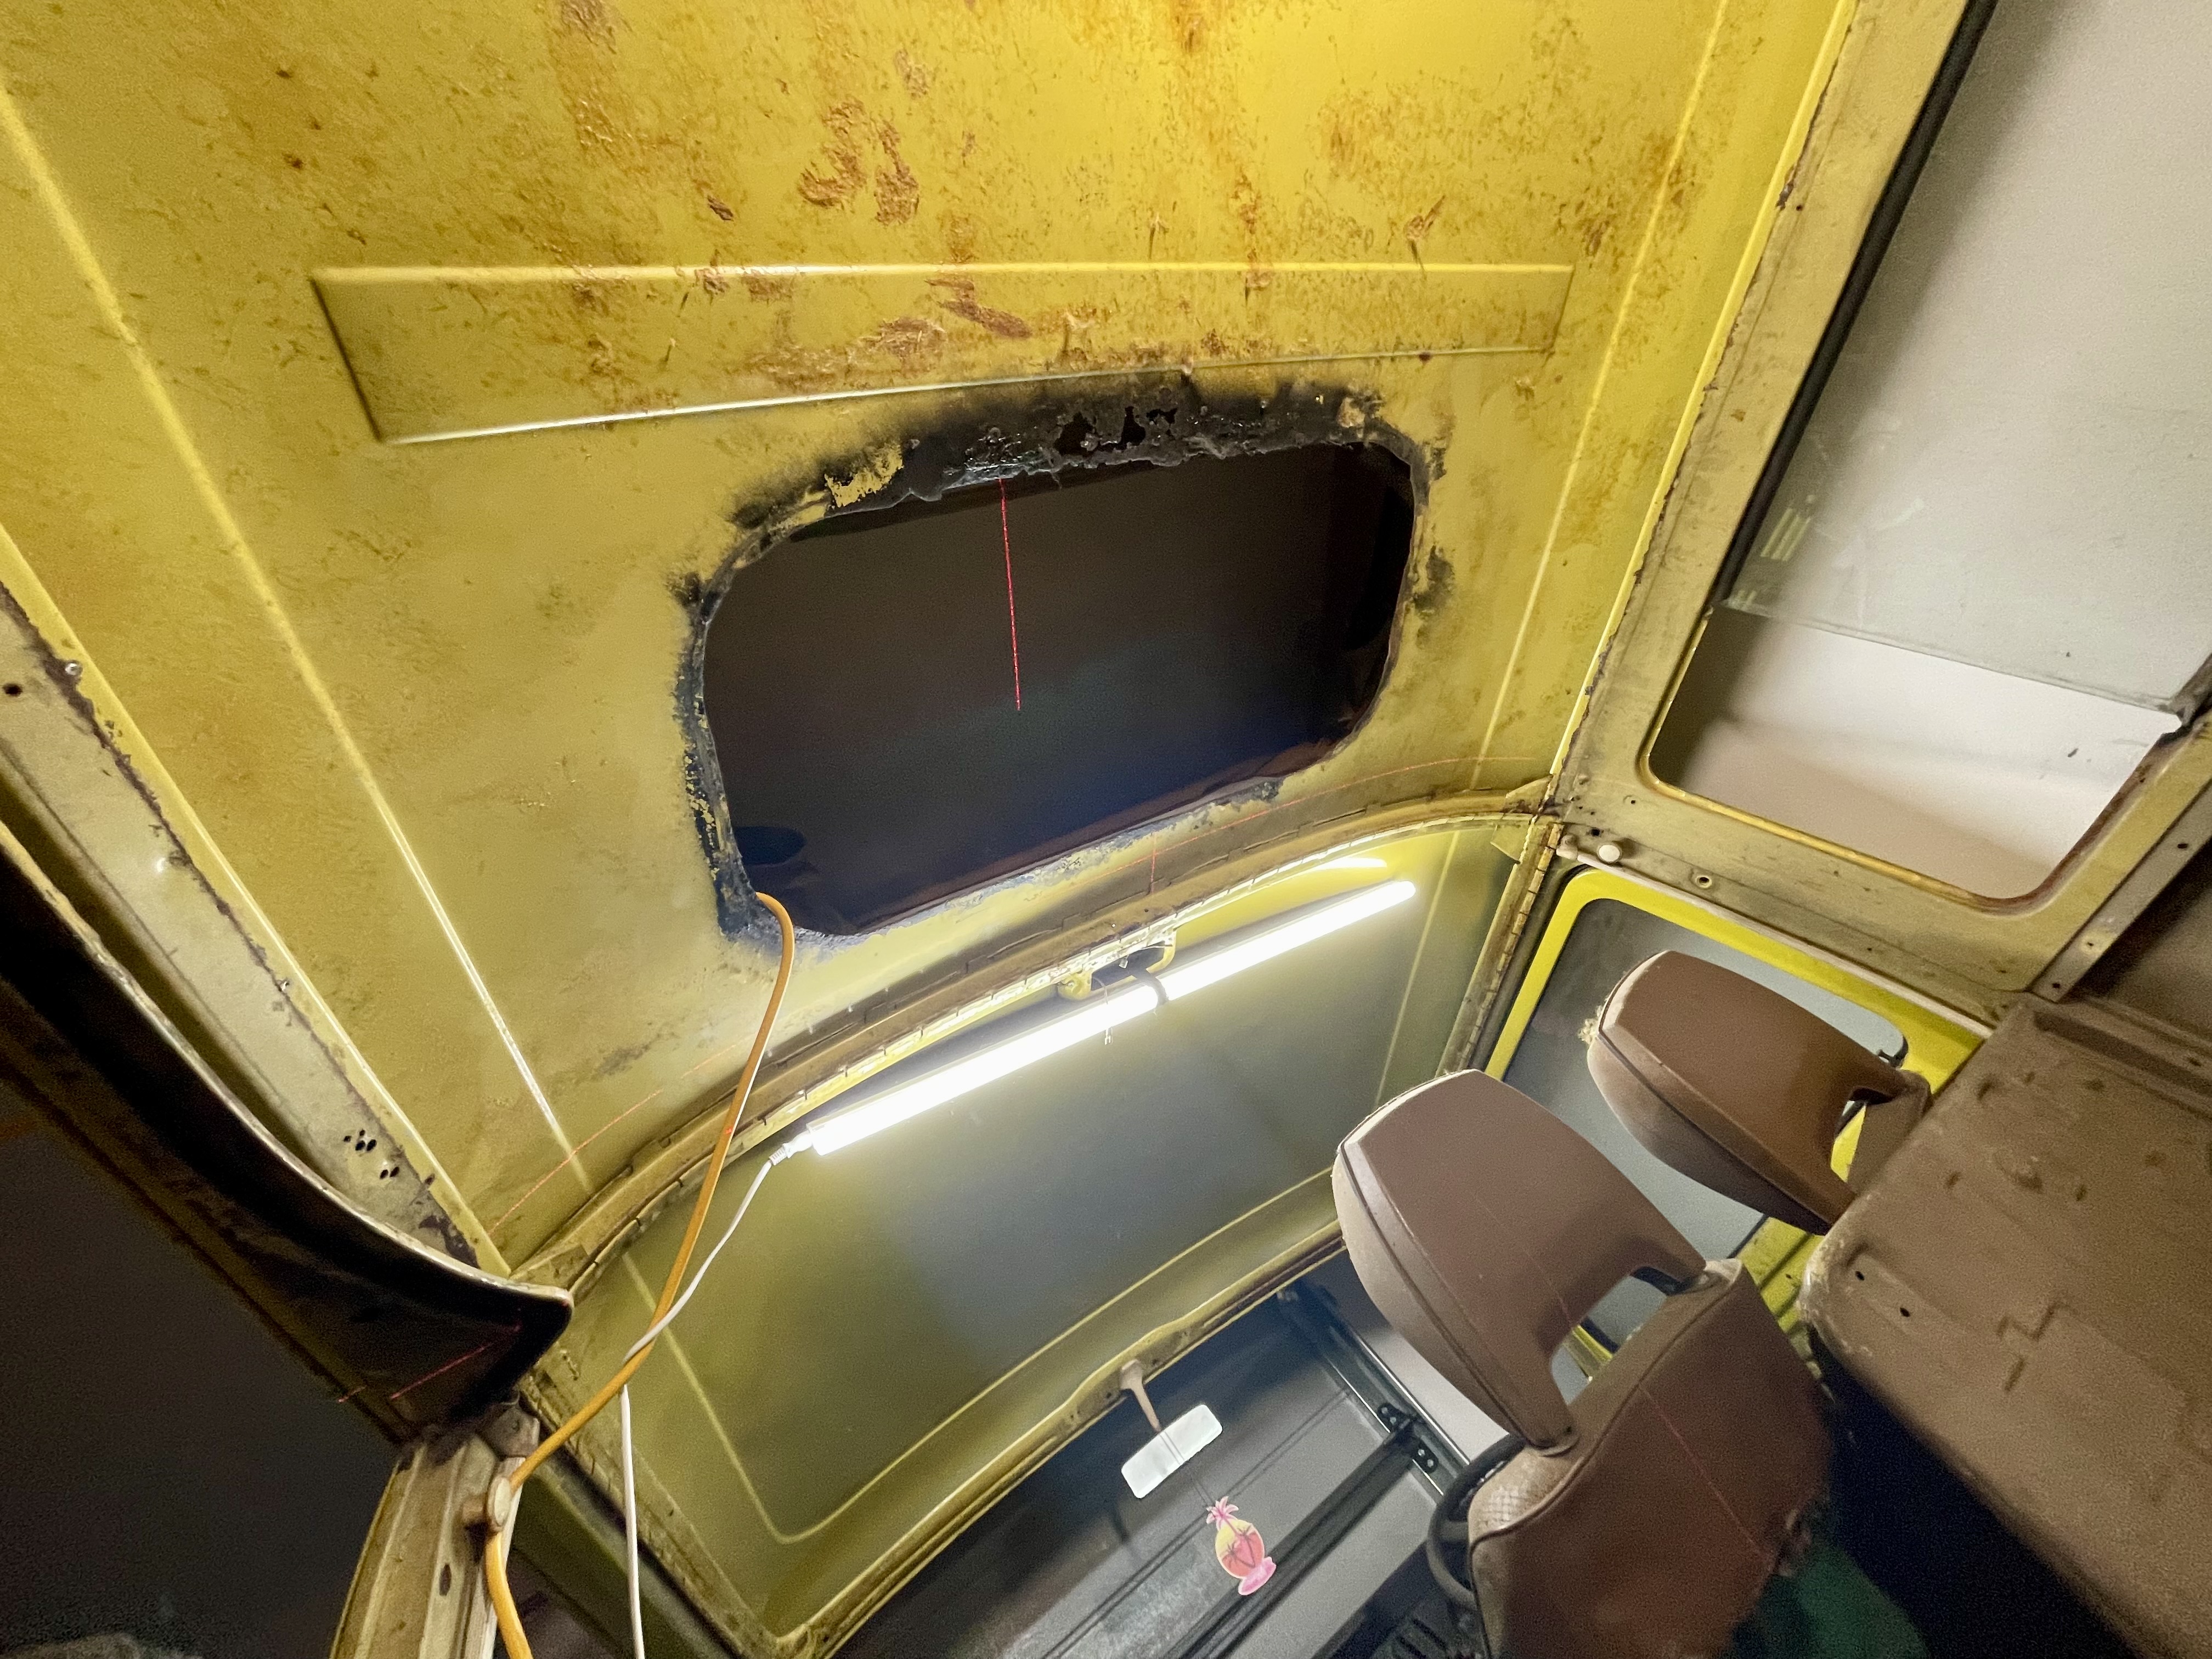 This was originally a sun-roof, but has damage
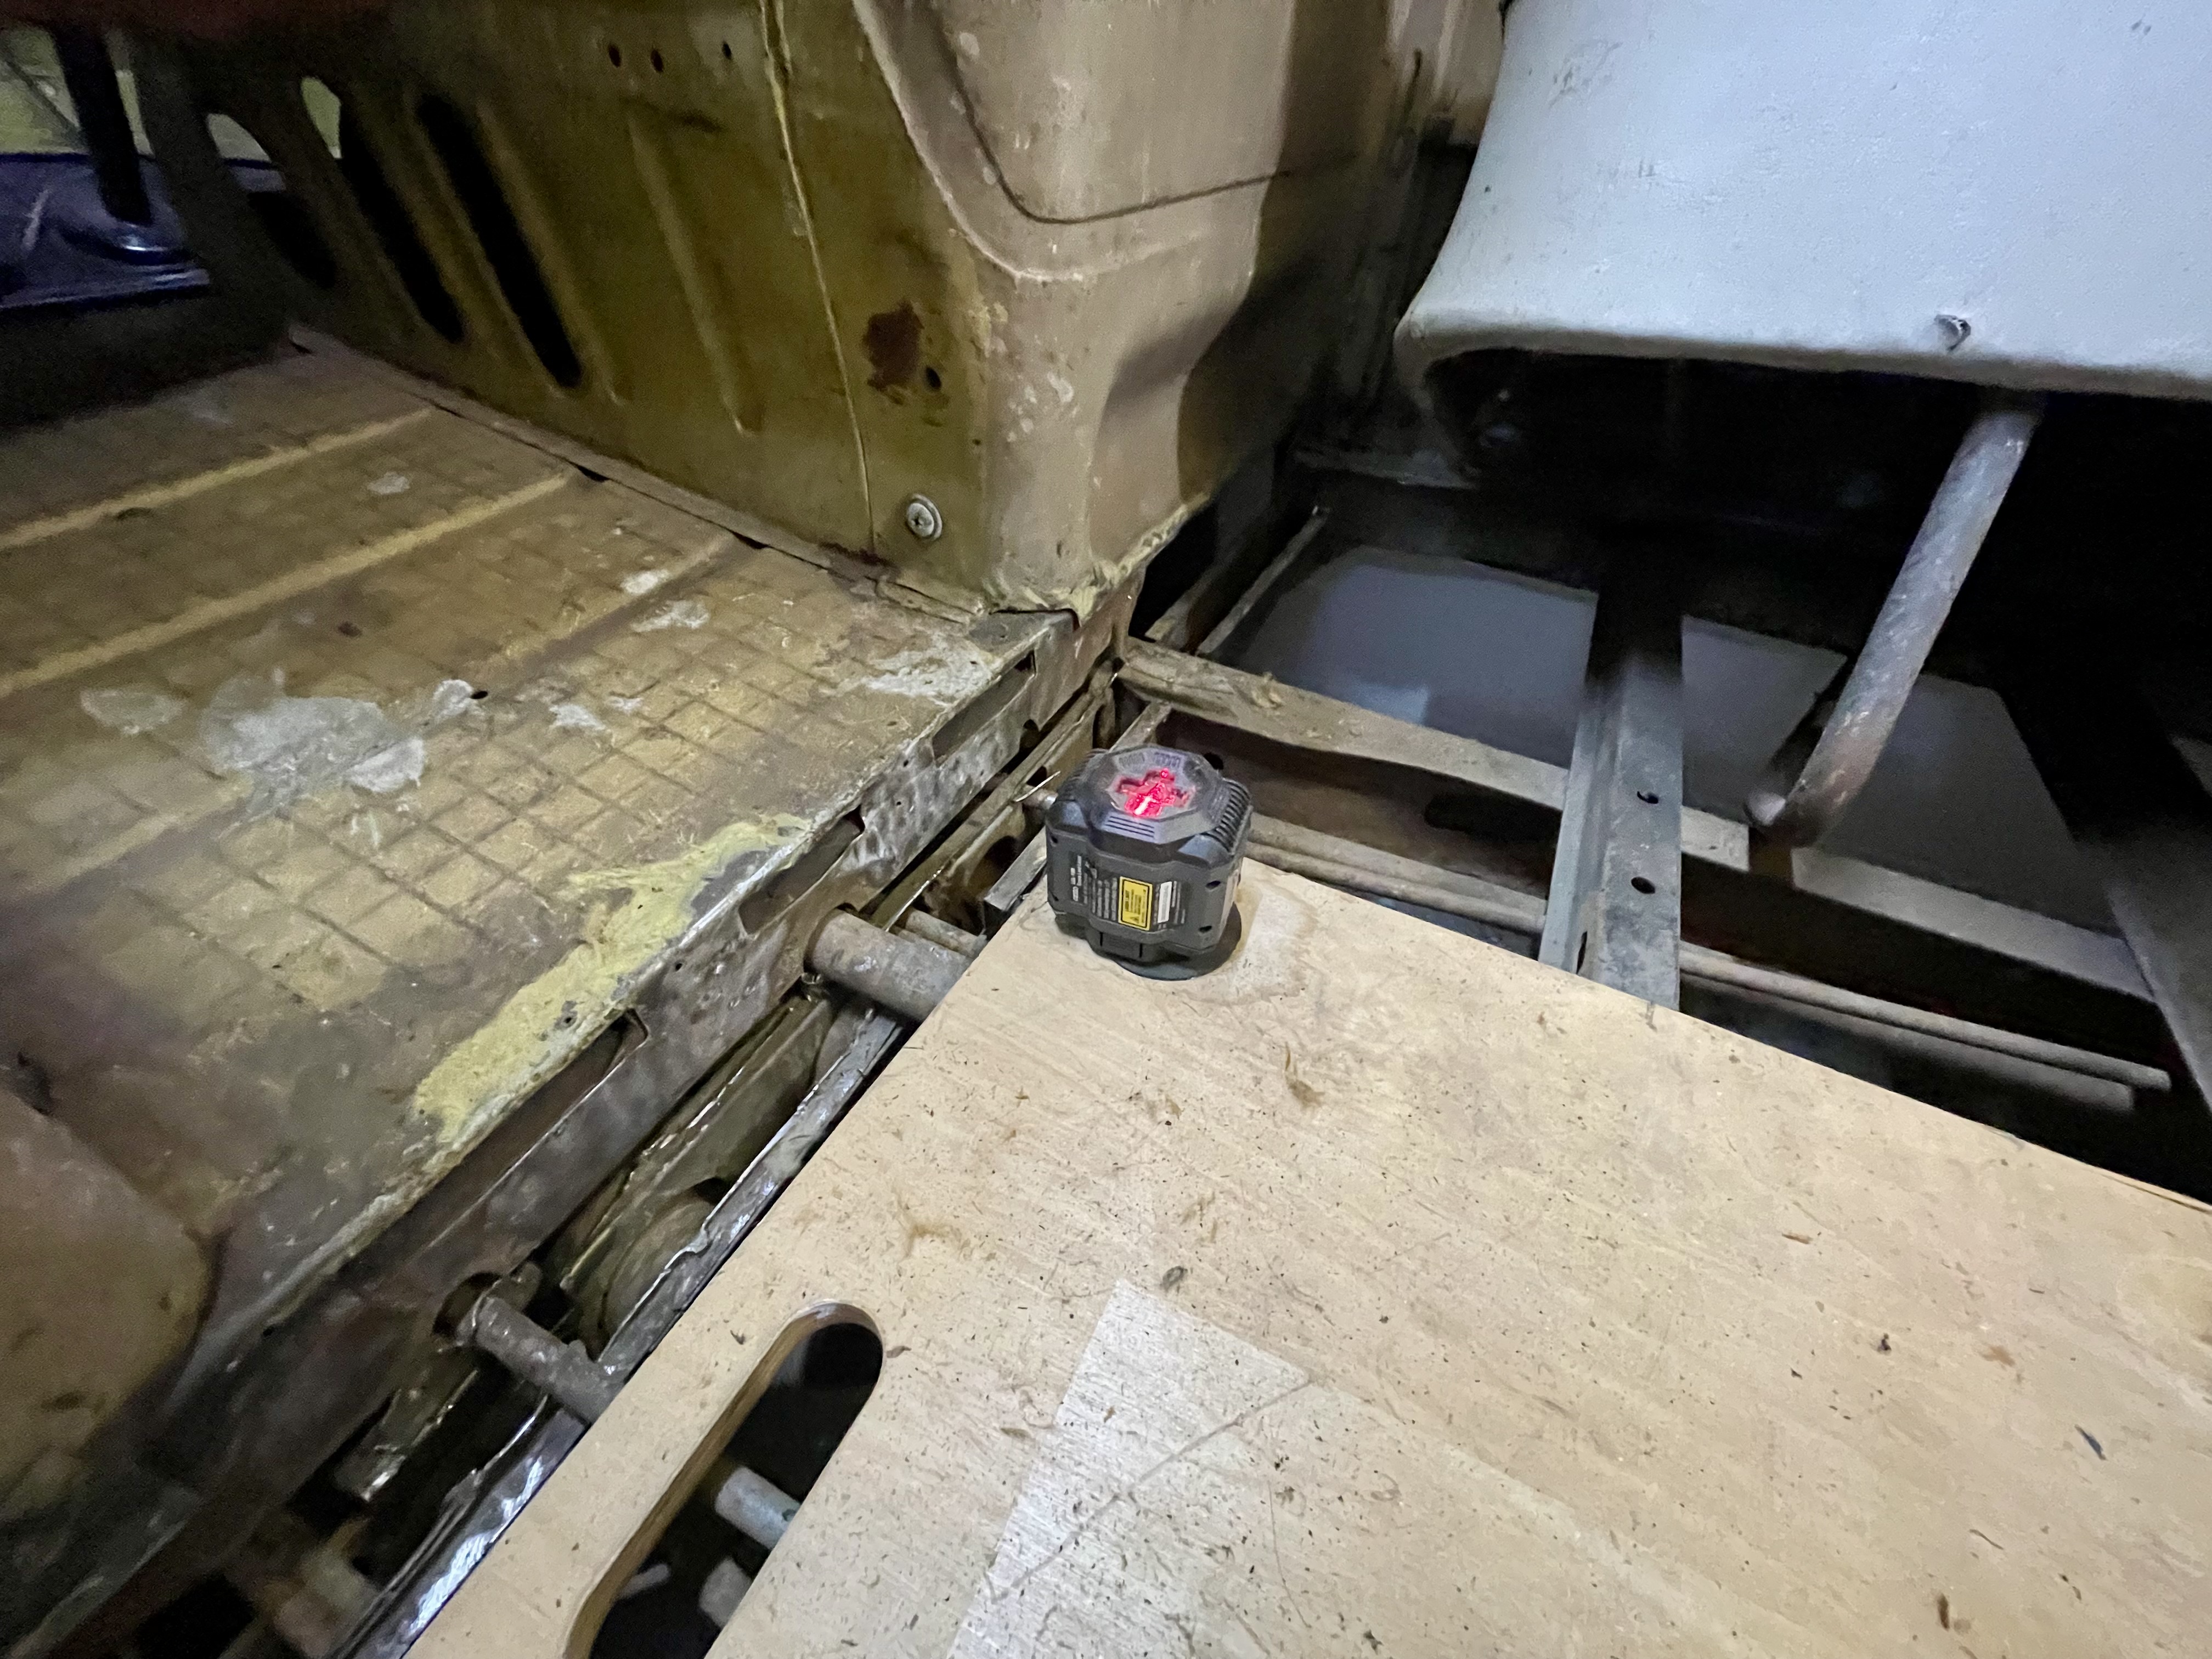 Using a cheap laser level to help mark own the area we need to cut
Daisy originally had a sun-roof, but it was damaged beyond saving. Rust had eaten through the edges and the seal was long gone. Rather than patch it up, the plan was always to remove that section entirely and fit the pop-top in its place. First step was getting the measurements right. I picked up a cheap laser level which made marking out the cut lines way easier than trying to eyeball it with a ruler and marker. We spent a good amount of time on this part. Measure twice, cut once, as they say.
 Using a cheap laser level to help mark own the area we need to cut
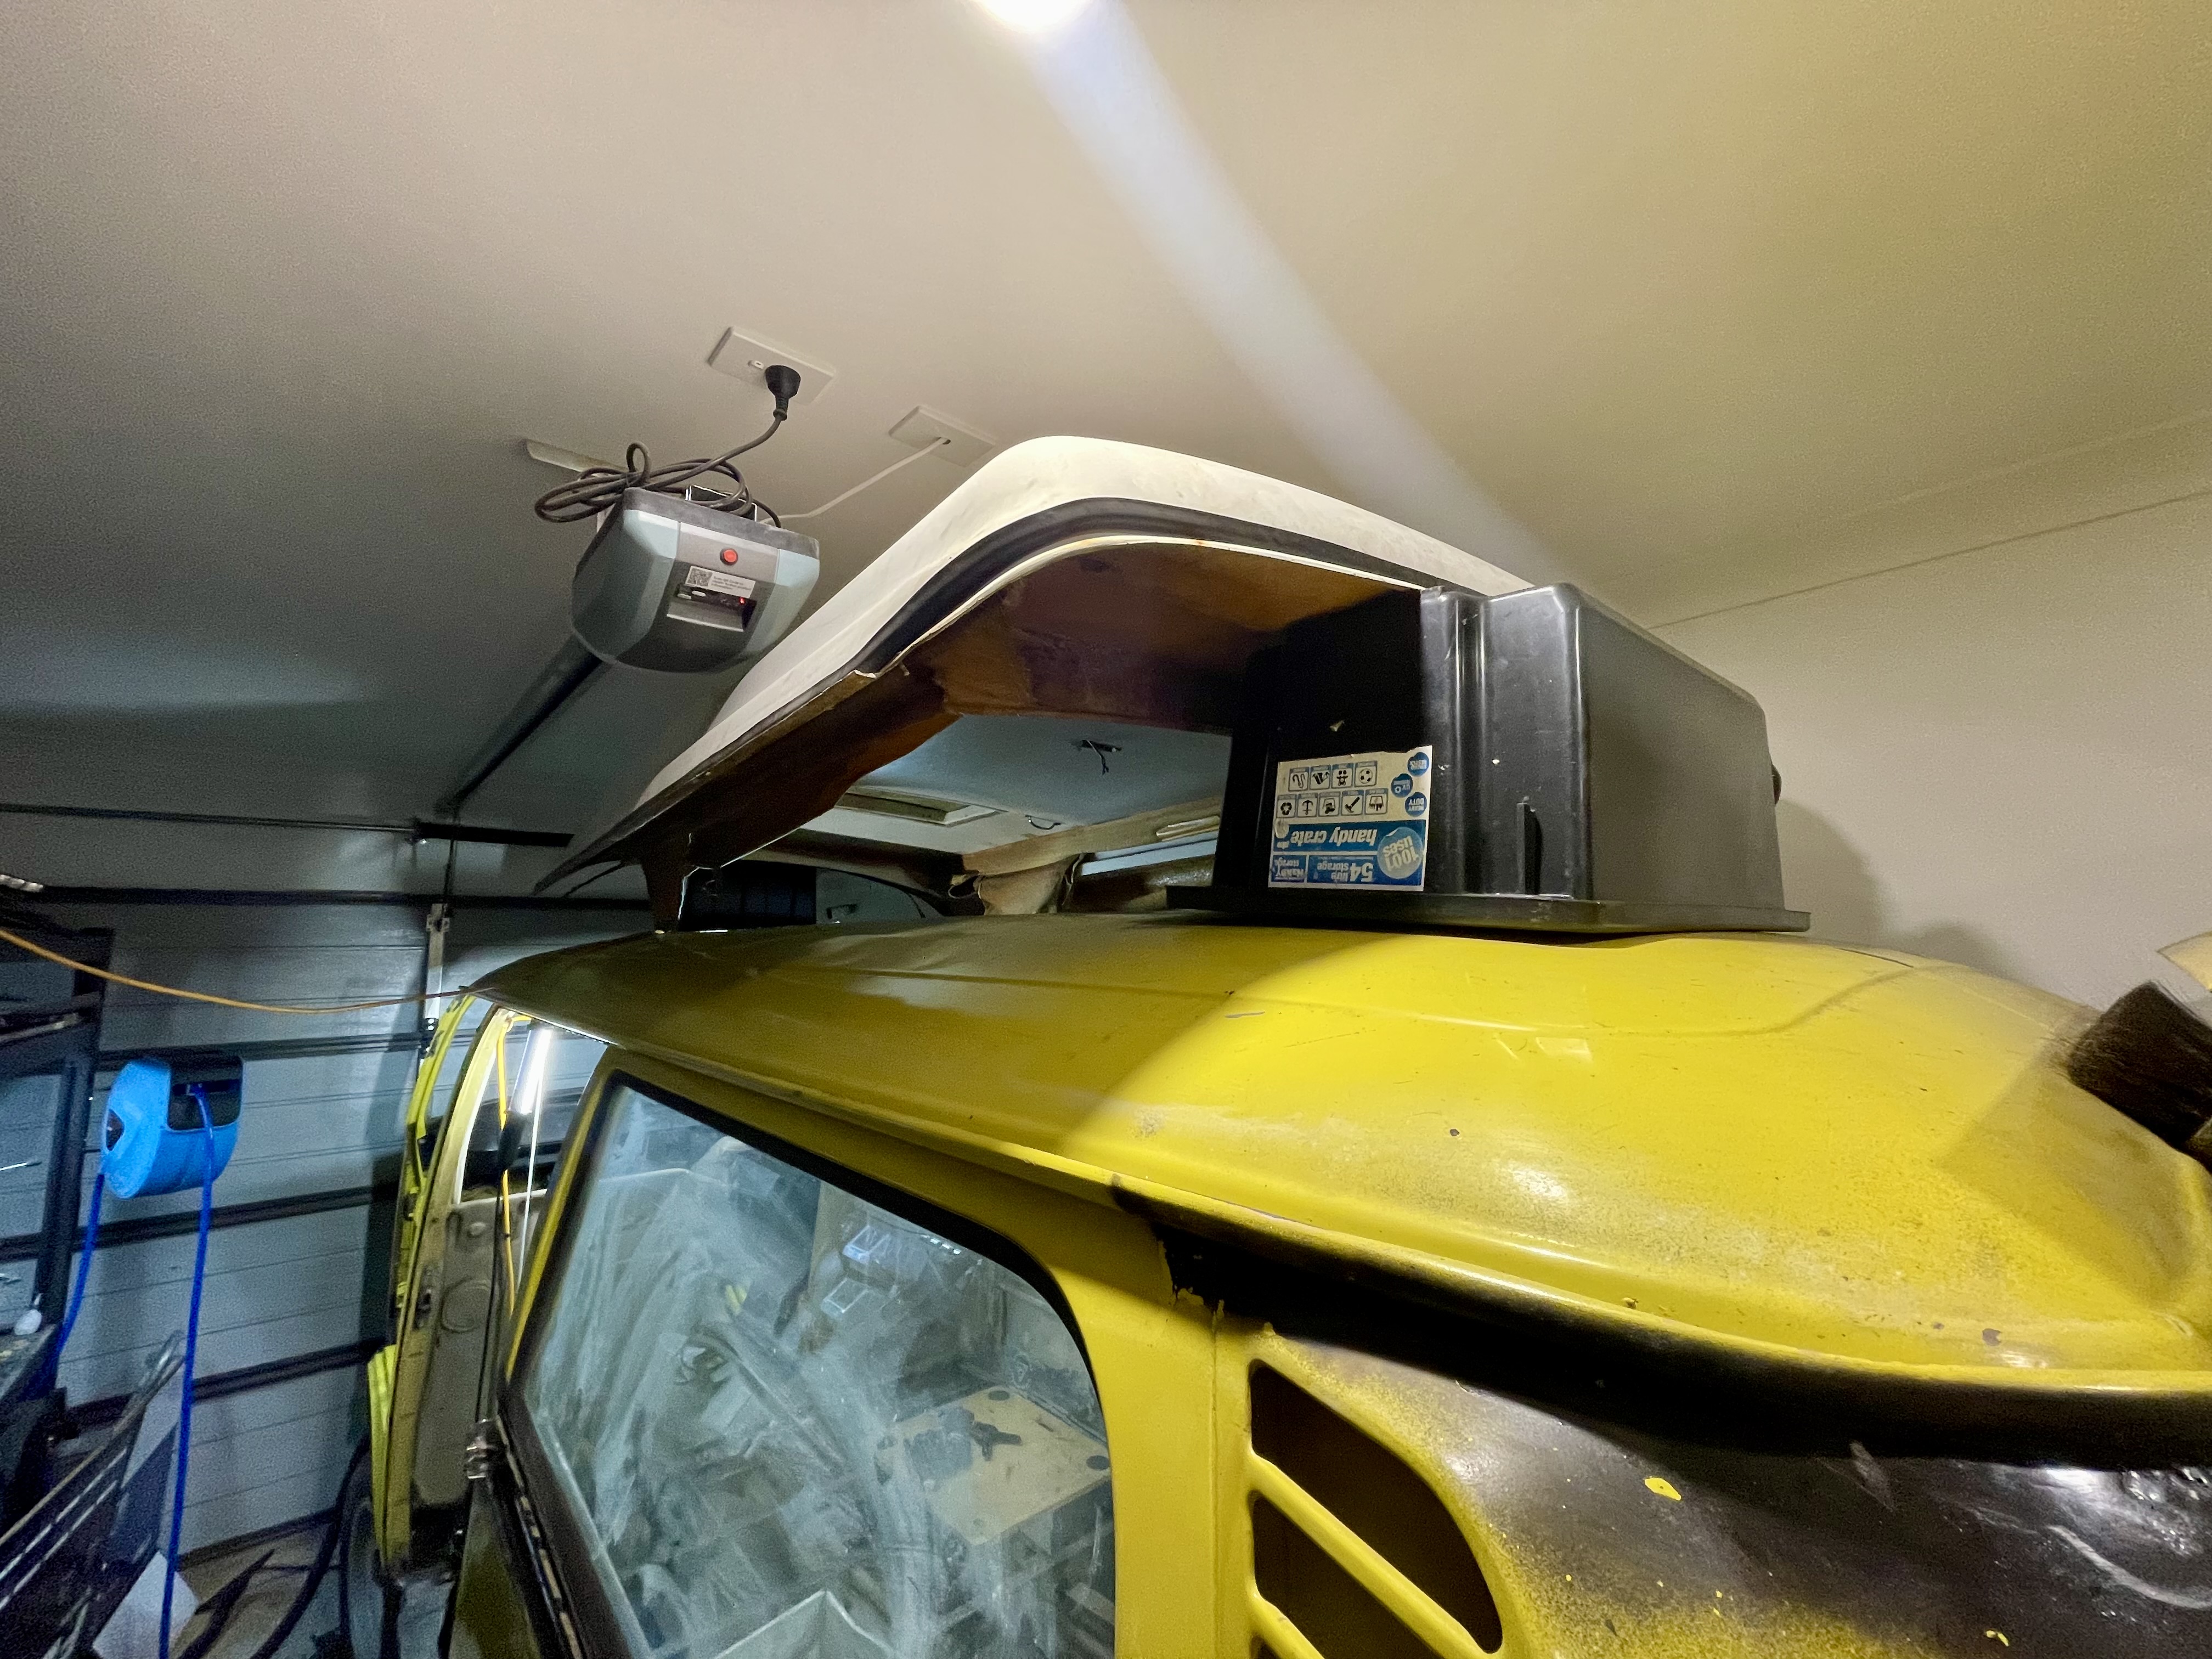 Holding up the Sopru pop-top with boxes above the roof
Before cutting anything, we held the Sopru pop-top up above the roof with some boxes to get a visual on the fit and double-check our markings lined up. It's one thing to have measurements on paper, but seeing the actual pop-top sitting there really helped confirm we were on the right track. A few small adjustments to the cut lines and we were feeling confident.
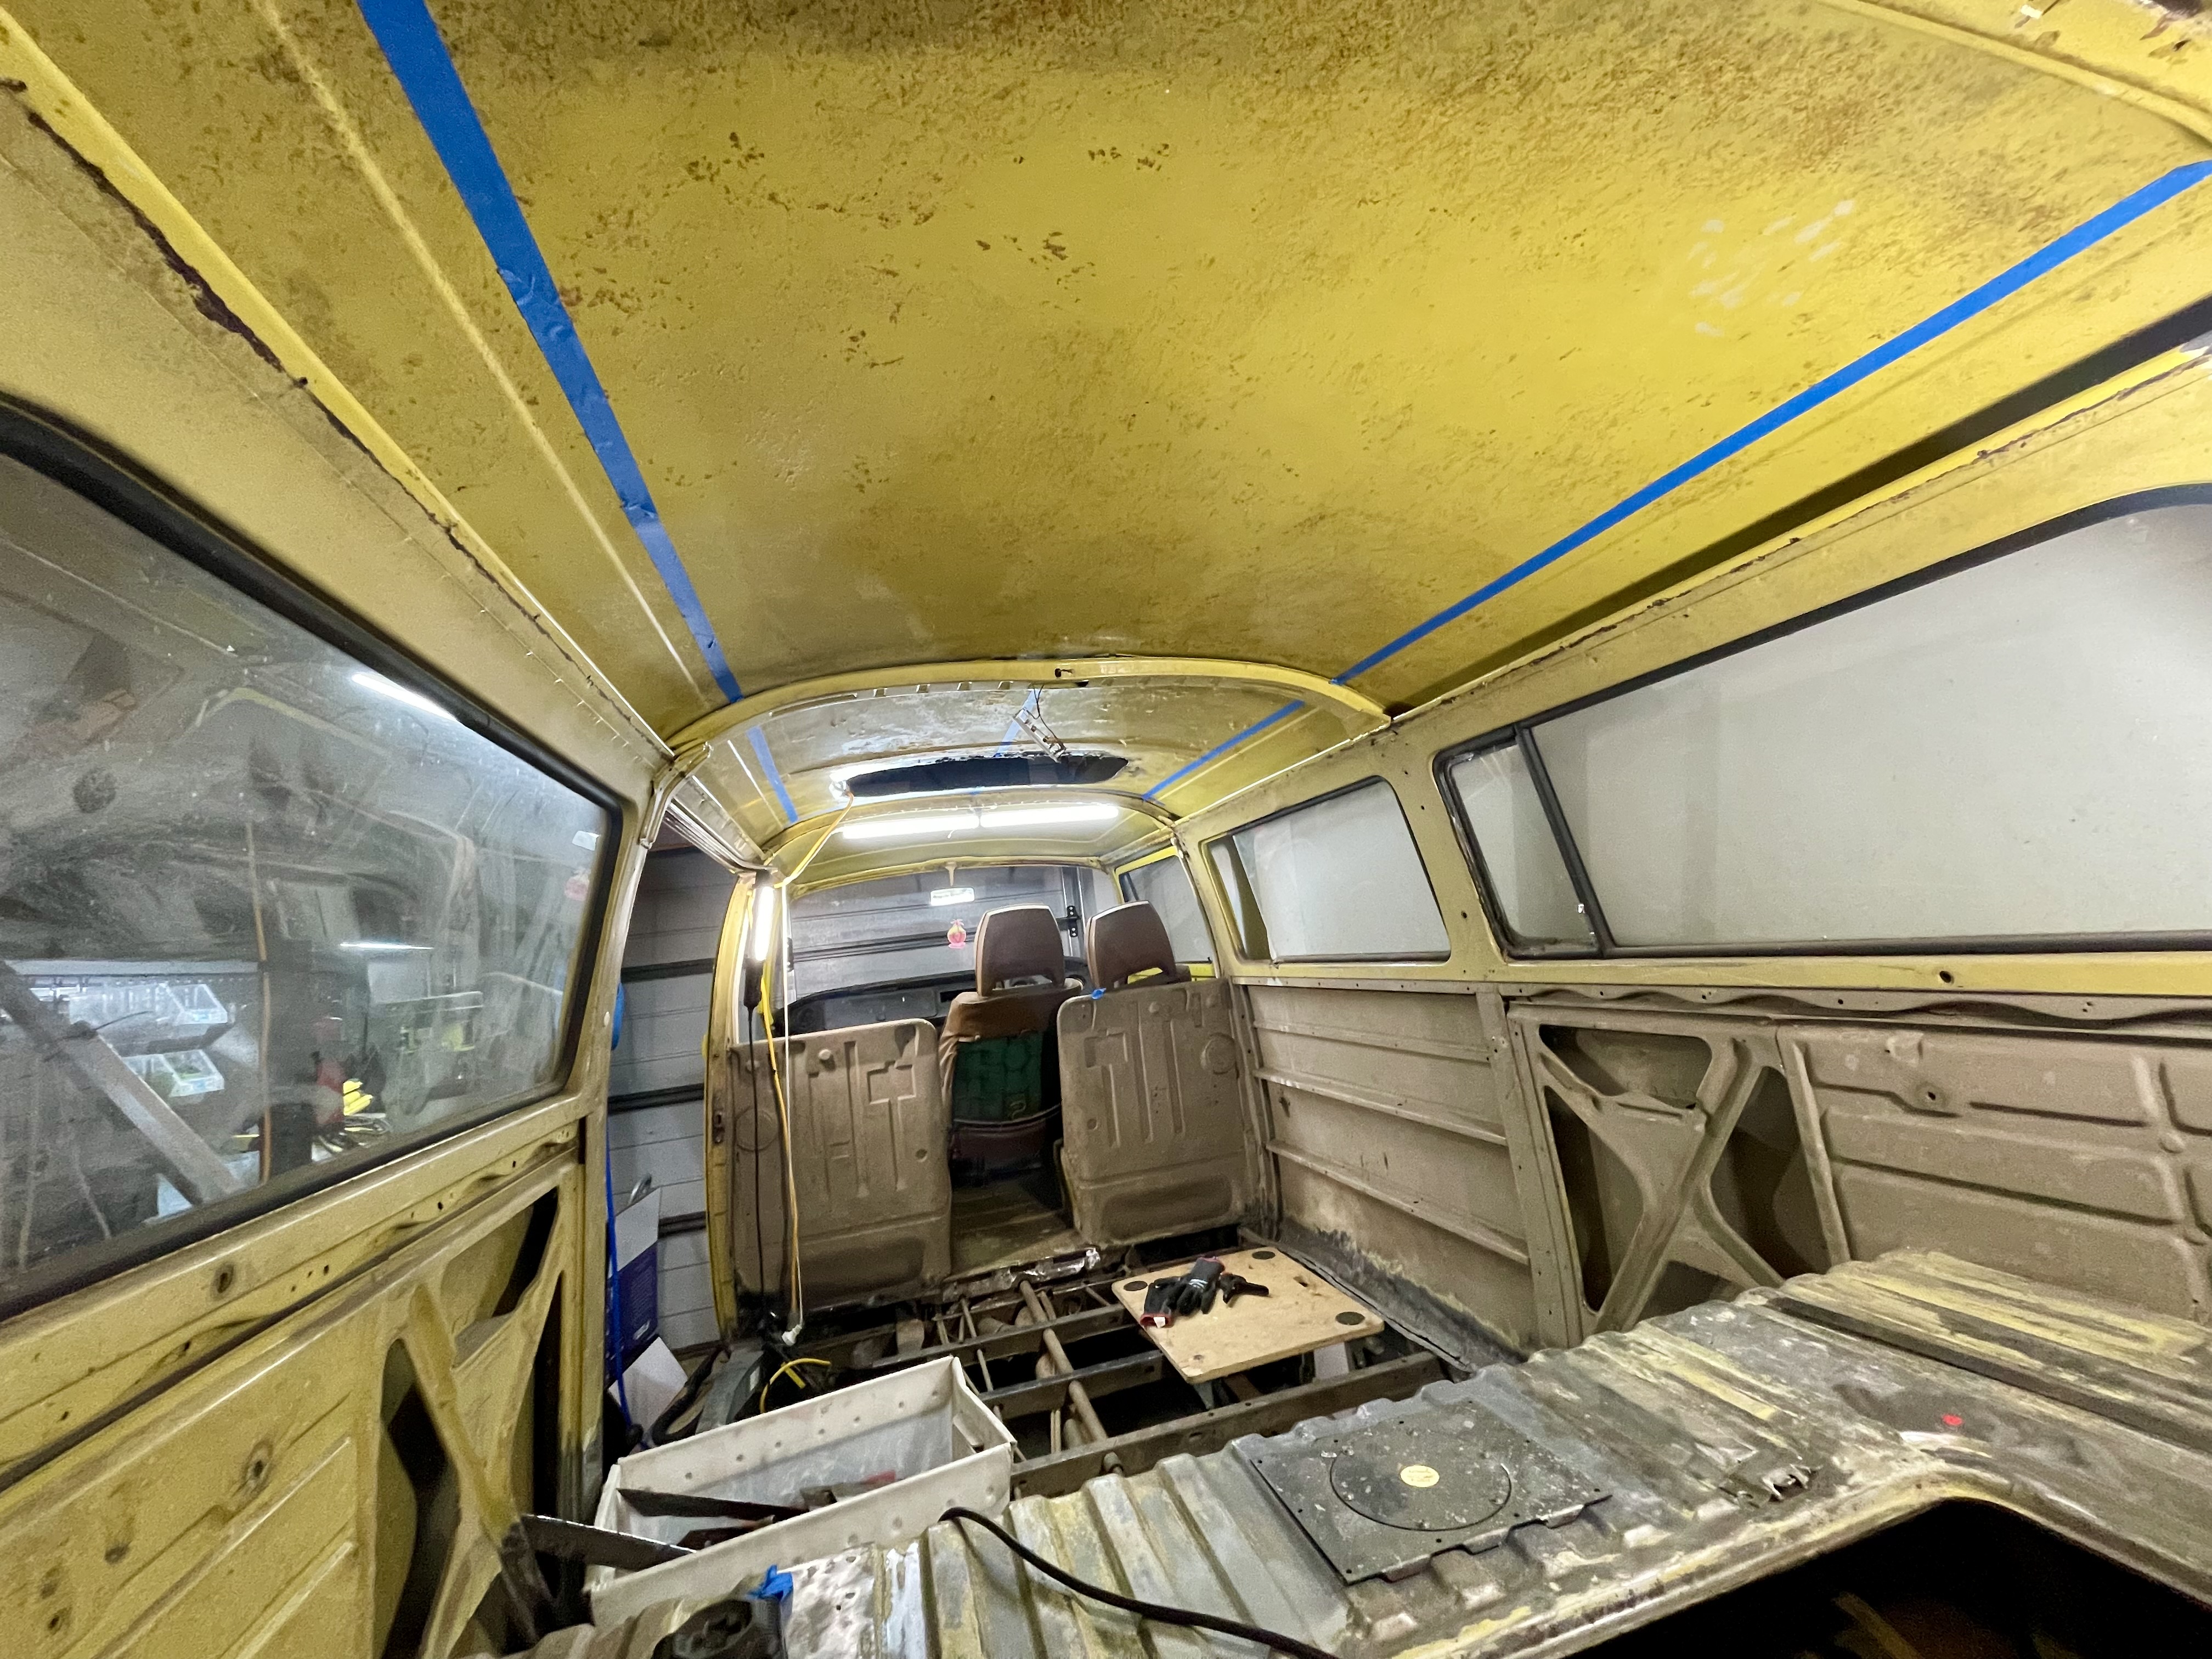 Full view, marked out where we are cutting
 Centerline marked, to double check
We marked the centerline as a final sanity check, making sure everything was symmetrical before committing to the cut. Standing back and looking at the full marked-out area on the roof was a bit surreal. That's a lot of metal to remove from a 50-year-old bus. Deep breath, and in we went.
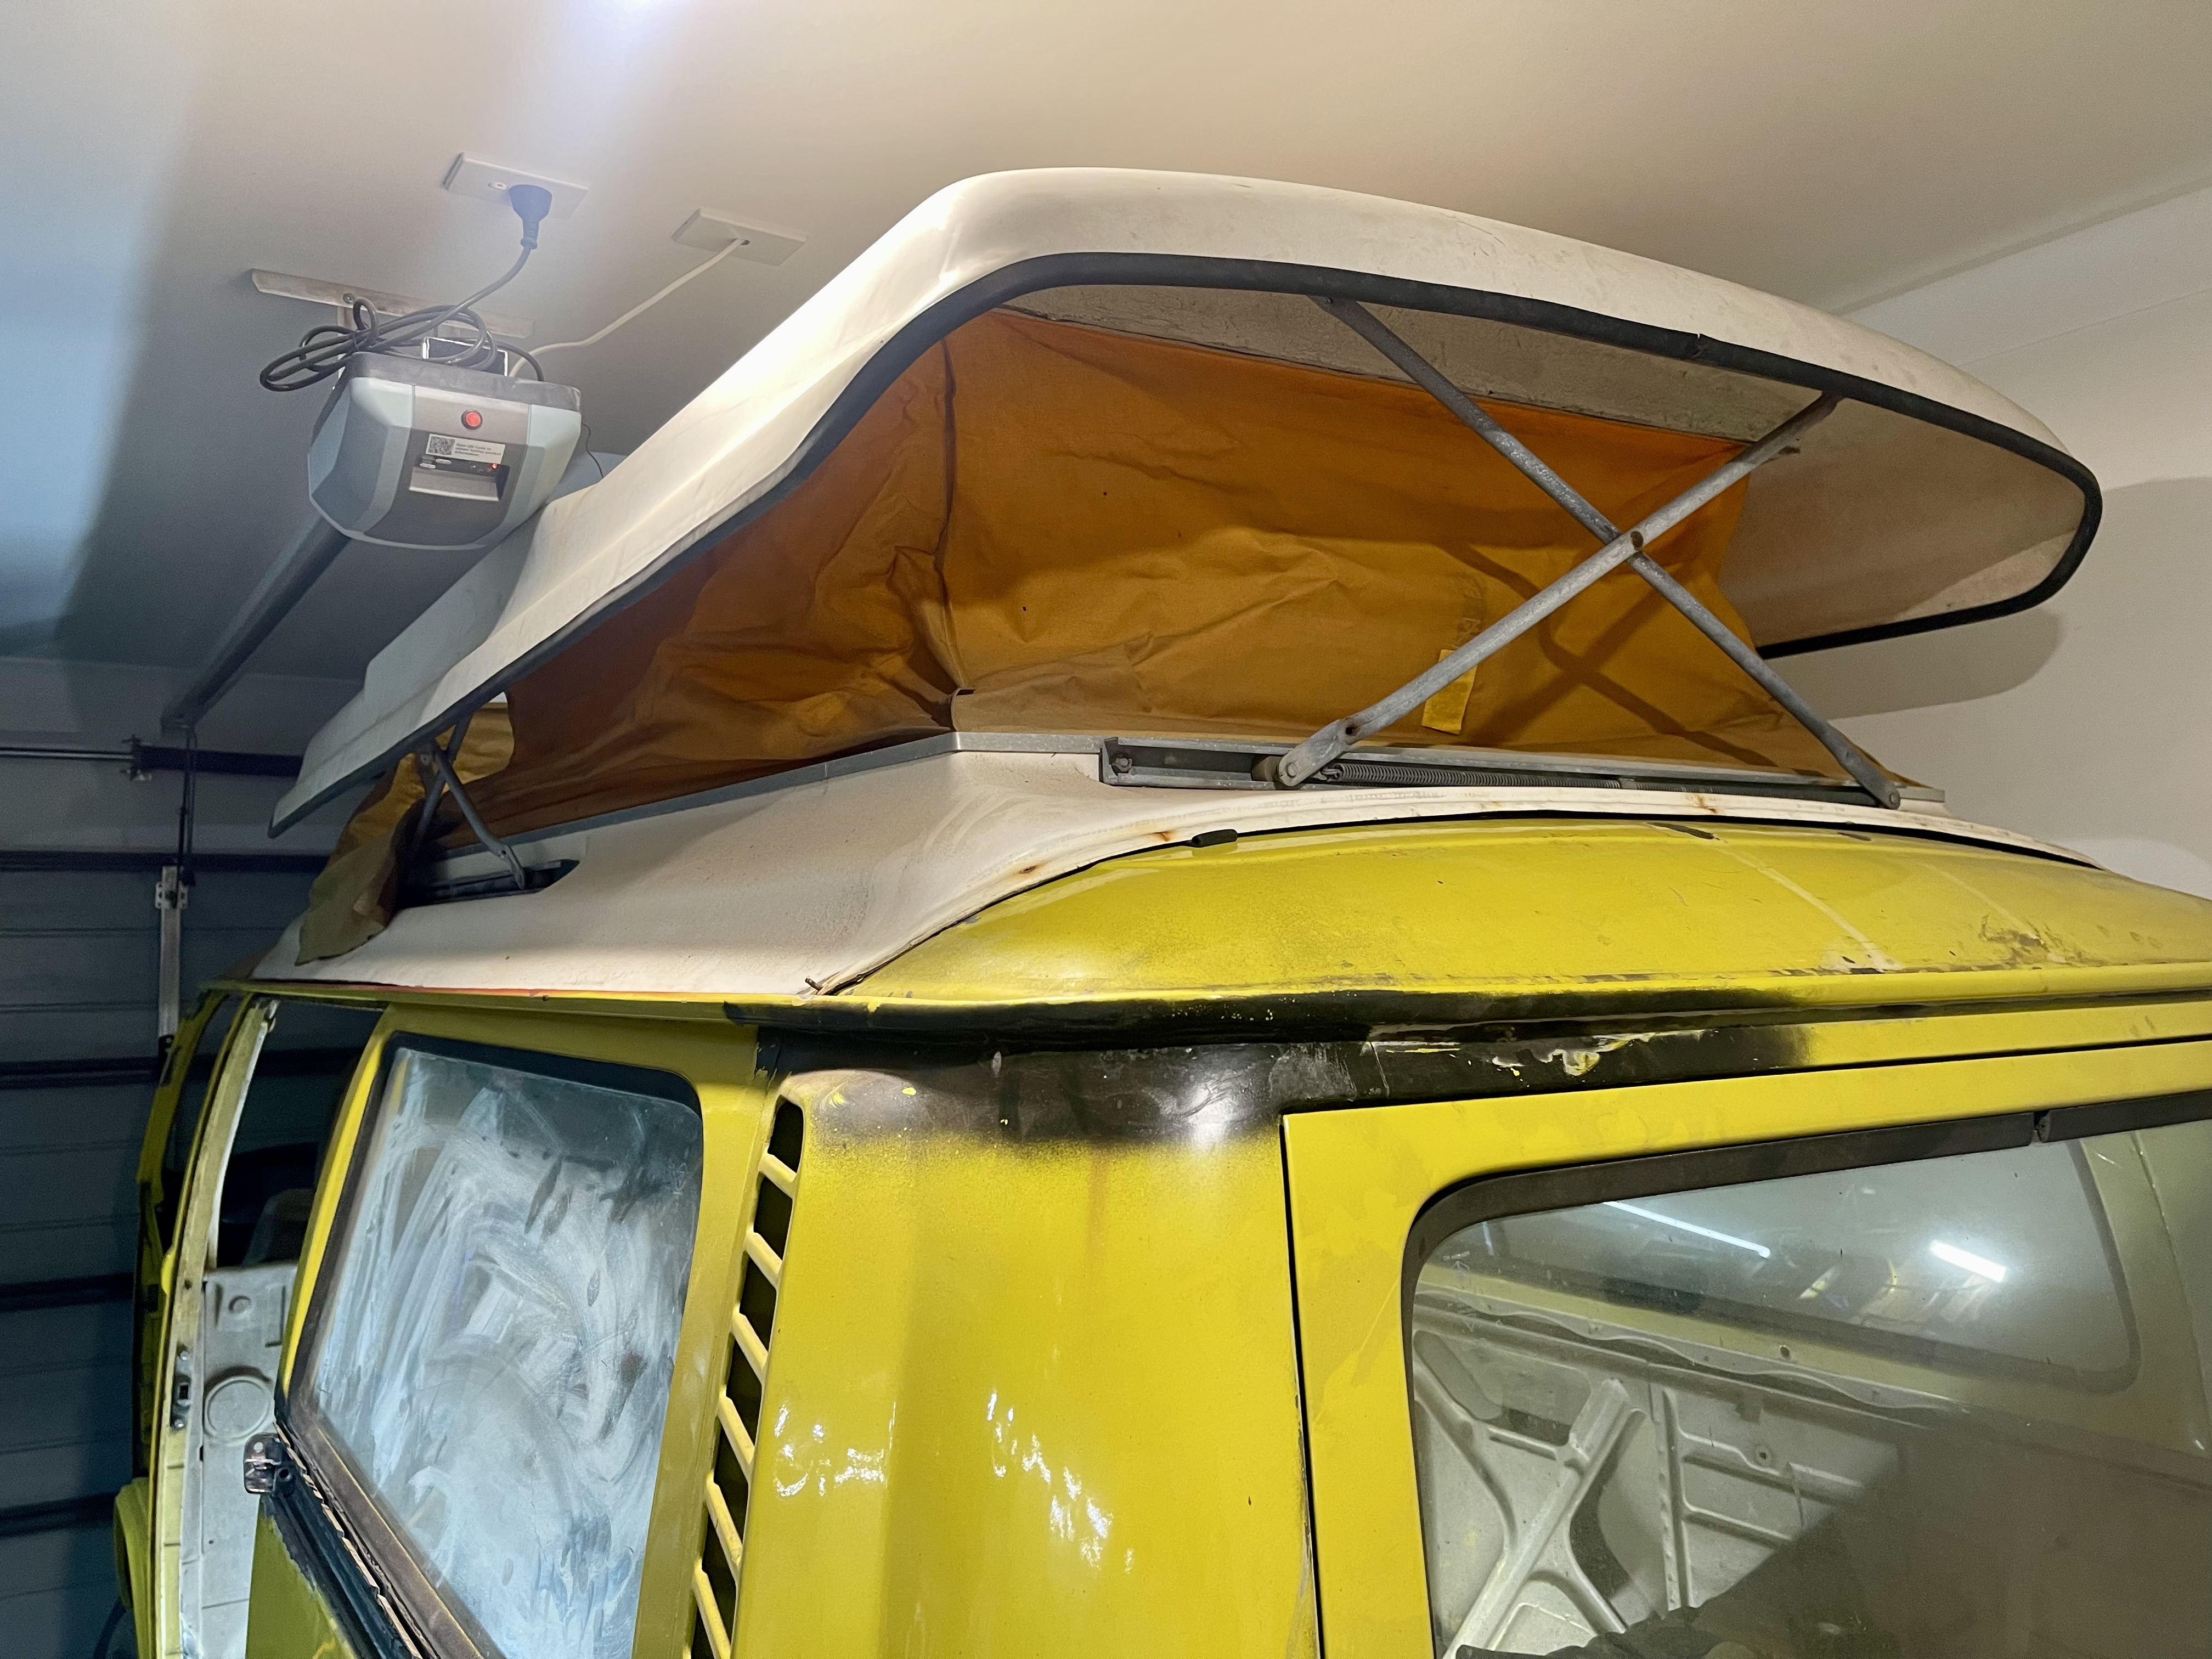 Post-cutting, Pinchweld & Sopru pop-top fitted
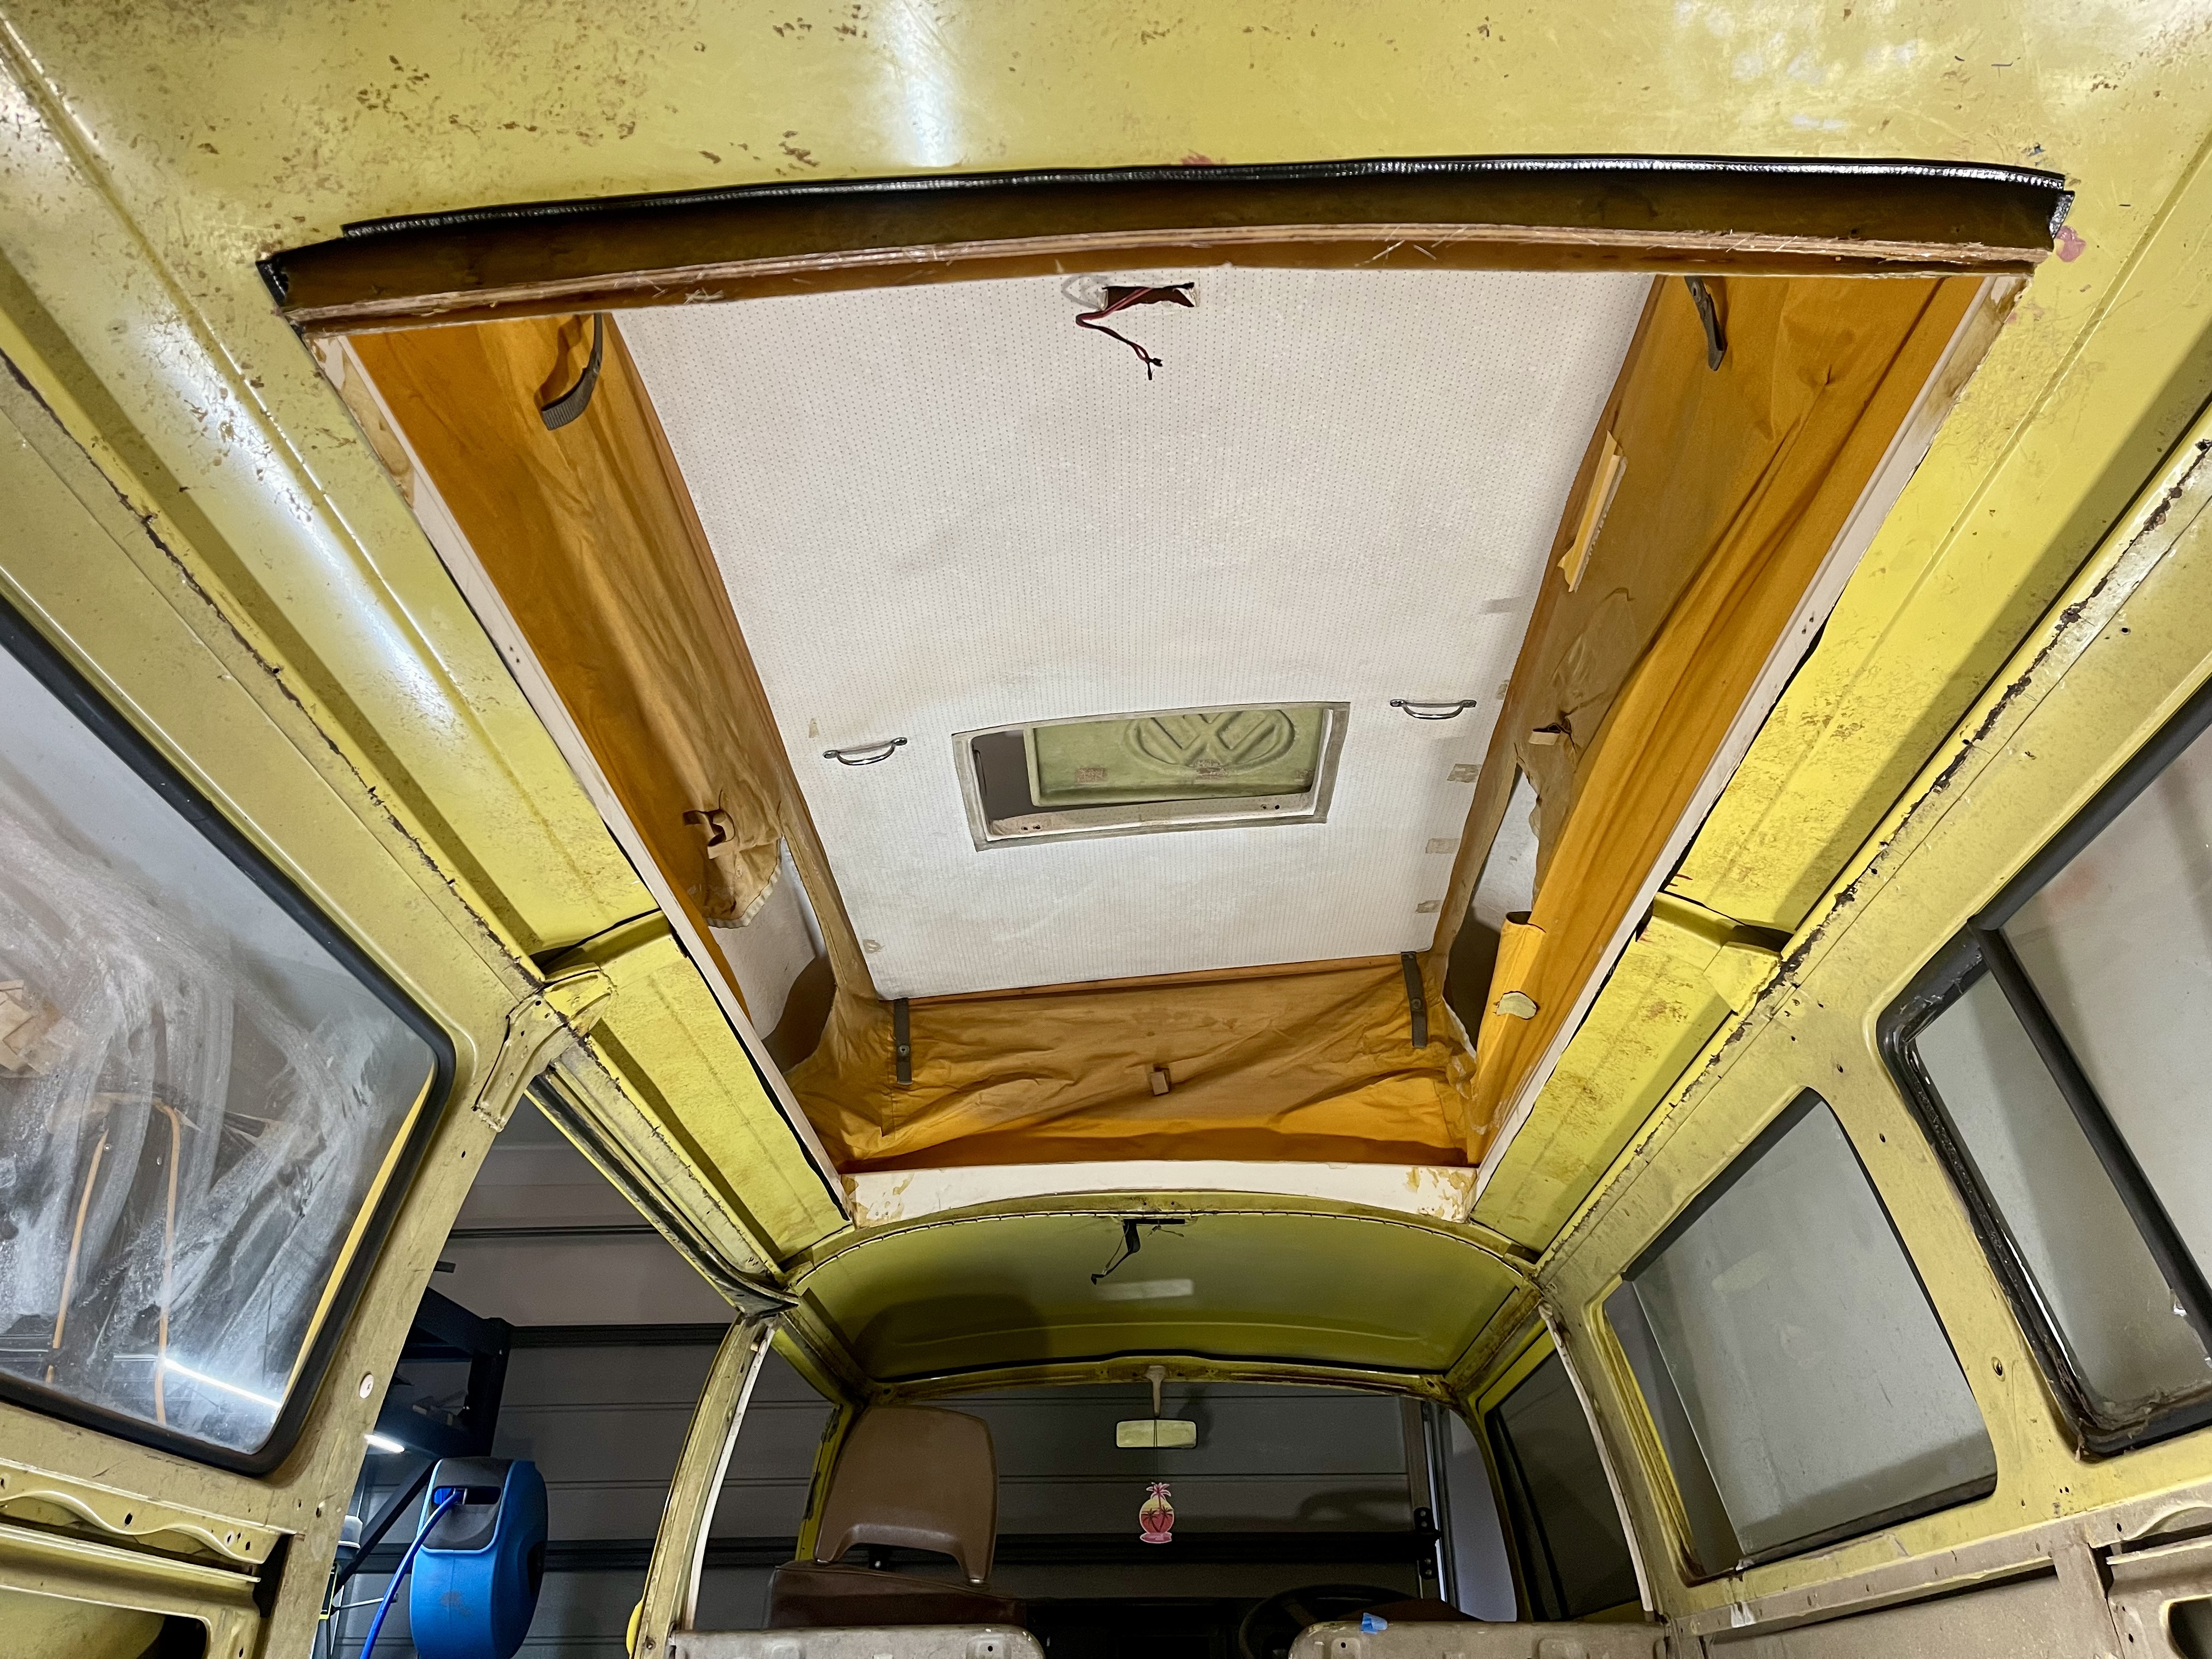 Post-cutting, Pinchweld & Sopru pop-top fitted
And just like that, the roof is cut and the Sopru pop-top is sitting in place with the pinchweld fitted. Honestly, it went smoother than I expected. The cut was clean, the pop-top lines up well, and Daisy already looks like a completely different bus. There's still plenty of work to do like sealing, reinforcing, and finishing the edges, but seeing the pop-top sitting there for the first time feels like a massive milestone. She's starting to look like the camper I've been picturing in my head for the last three years.
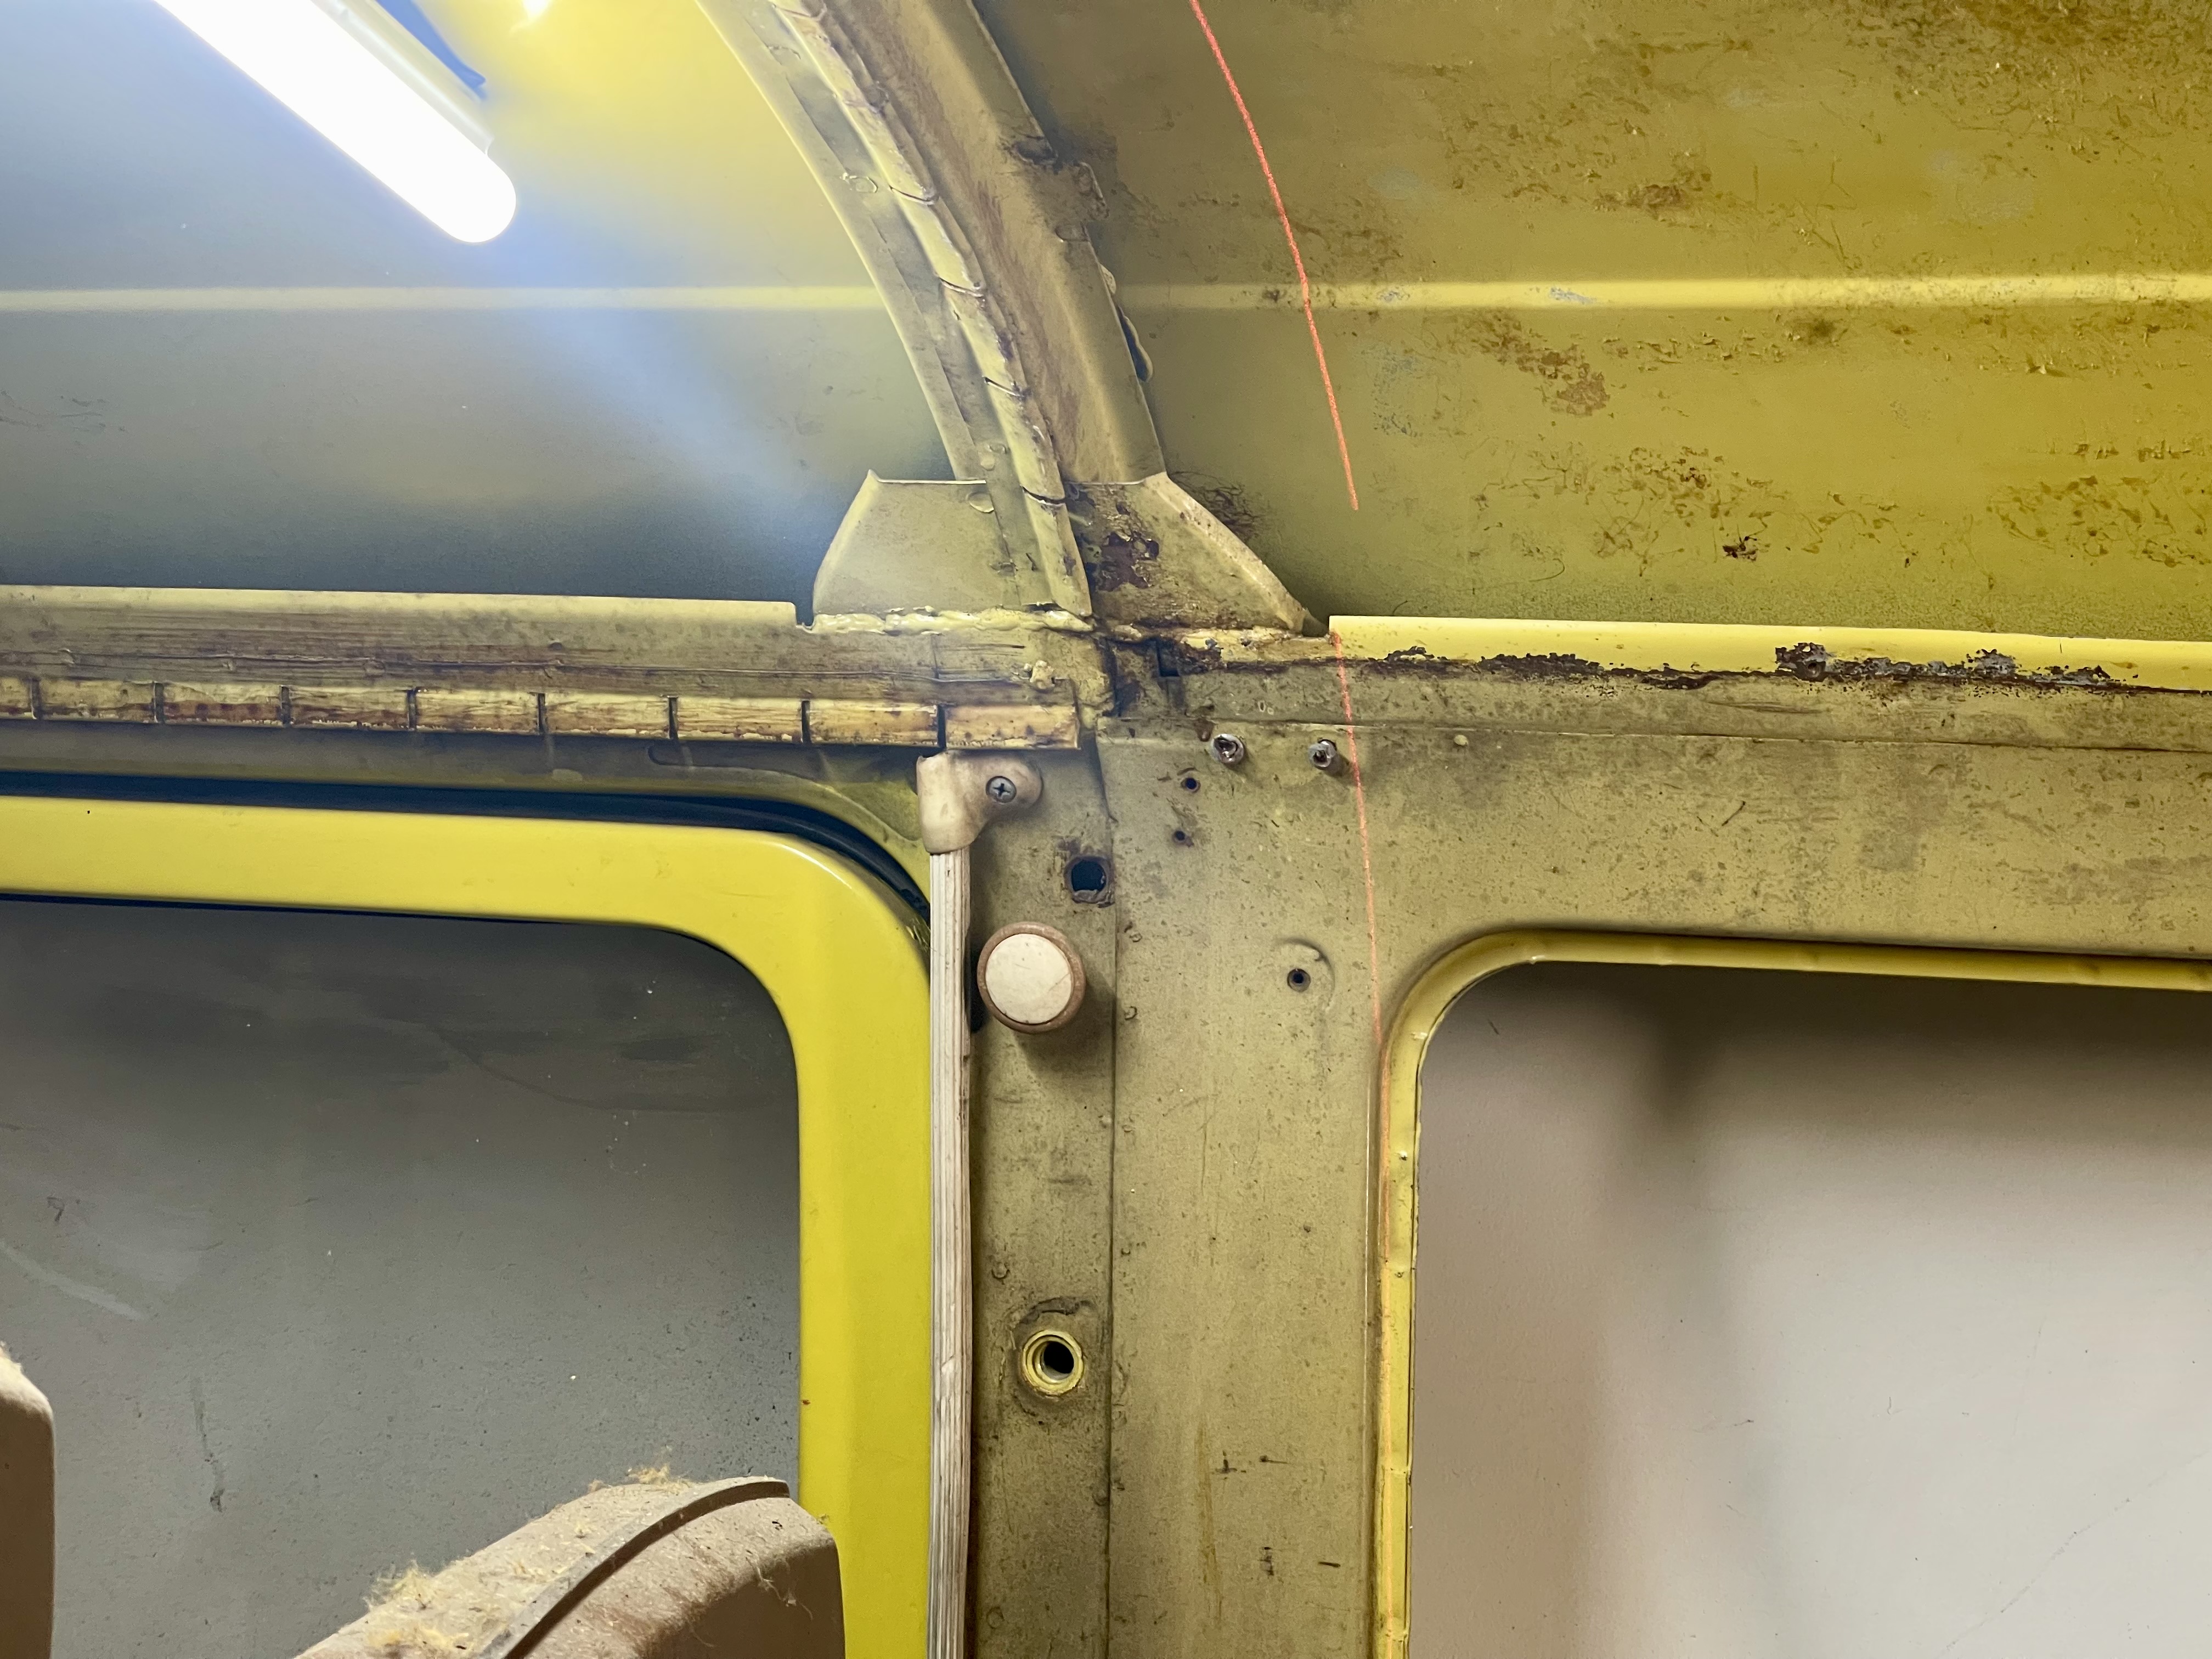
There is one issue
When I went to check the hole locations where I would affix the pop-top to the roof with some rivnuts and bolts I realised the back bolts are in a really bad location. I need to bring forward the whole pop top to against the B pillar, not the end of the world. Just another happy accident... that I need to fix.